
Hey everyone, it’s Javi here from your go-to Shock Absorber Bolt Kit supplier. If you’re working on your car—whether it’s your daily driver, a weekend project, or even your kid’s lifted truck—and you ever wondered, “Do my shock absorber bolts actually need checking, or am I wasting time?” I get it. I’ve been there, crawling under a car at 8 PM with a flashlight that’s about to die, staring at those bolts and thinking, “There’s no way I’m removing these just to see if they’re good.” Today, I’m walking you through exactly how to check their condition without yanking anything apart. No extra work, no messed up schedules, just real, actionable steps I’ve helped hundreds of DIYers and small repair shops with over the years. Let’s dive in.
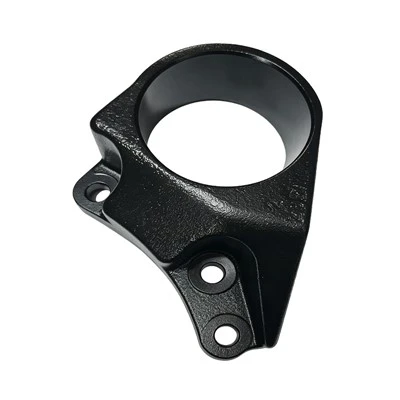
First off, why does this even matter? I’ve seen so many folks skip this step because they assume bolts don’t go bad—big mistake. Shock absorbers take tons of force every time you hit a pothole, speed bump, or even a little curb. Those bolts are holding the entire [Shock Absorber Mounting Bracket] together, connecting the shock to the frame and the wheel hub. If they’re loose, corroded, or stretched out, you’re not just losing handling—you’re risking a shock coming loose mid-drive, which is straight-up dangerous. I’ve had customers come to me after noticing weird vibration at highway speeds, and 9 times out of 10, it’s a worn or loose shock bolt they missed. The best part? You don’t need a garage full of tools to check this. Most of what you need is probably already in your toolbox or junk drawer.
Let’s start with the basic, no-tool checks first—stuff you can do in 5 minutes, no lifting the car even. First, just lean under the car (make sure it’s on level ground, and the parking brake is on! Don’t skip that safety tip), and run your fingers over every shock bolt. Wait, not just tap—actually press on the bolt and the area around it. Feel for any grime that’s not just road gunk, like rust that’s flaking off, or weird crusty buildup that looks like it’s eating away at the metal. Corrosion is a silent killer here. Even if the bolt looks like it’s fine, if it’s got that light brown rust or white powder, that’s a sign it’s starting to weaken. I always tell people: if a bolt looks like it’s been sitting outside in the rain for years, it probably has. Also, look at the threads. You know how when you take a bolt out, the threads are smooth or slightly sharp? If the threads look chewed up, stripped, or have bits of rust stuck in them, that’s a problem. Chewed threads mean the bolt can’t clamp down right, so even if it feels tight now, it’ll work its way loose eventually.
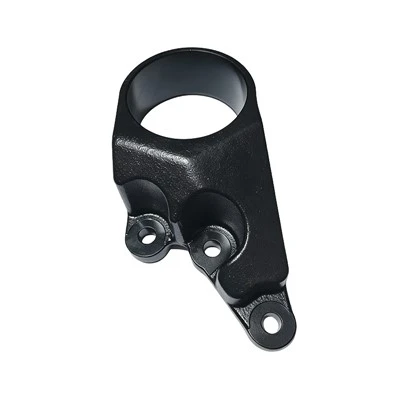
Next, the “wiggle test”—super simple, works every time. Find the shock bolt head (the part with the hex or star shape for a wrench) and the nut on the other end. Grab both sides as close to the bolt as you can get (avoid the shock body itself, we don’t want to mess with that). Now push and pull, side to side, as hard as you safely can. If there’s any movement—even a tiny bit—something’s off. Now, that movement could be three things: a loose bolt, a corroded bolt, or a worn [Shock Absorber Mounting Bracket] where the bolt slides through. Let’s rule those out quick. First, if the movement is at the nut side, the nut might be loose. If it’s at the head, the bolt could be turning in place. Either way, that’s not good. I had a guy last month who skipped this test, and his bolt was so loose that when he hit a railroad track, the shock shifted and knocked the inside of his tire. He had to replace the tire, the bolt, and a mounting bracket—all because he didn’t do the wiggle test. Moral of the story: don’t skip this, even if the car feels fine driving.
Now, if that initial check turns up nothing, let’s step up to a tool that’s probably already in your garage: a lug wrench or a ½-inch drive breaker bar with a socket that fits the bolt head. Wait, don’t crank on it like you’re loosening a lug nut—we’re just checking tightness, not taking it off. Set your socket firmly on the bolt head, and then use the breaker bar to apply gentle, steady pressure to turn it counterclockwise. If it moves at all—even a half-turn—that means it was loose. But if it won’t budge, that doesn’t mean it’s tight—it could be corroded. Here’s the trick: if it’s stuck, don’t force it with a big pipe or anything. Instead, spray a little penetrating oil (WD-40 works, or even PB Blaster if you’ve got it) around the bolt and let it sit for 10 minutes. Then go back and try again. If it moves easily after that, it was just rust-seized—not too bad. But if it still won’t move, that’s a good sign it’s tight… for now. But we still need to check if it’s stretched, because stretched bolts don’t have the clamping force they need, even if they feel tight.
How do you check for stretched bolts without removing them? That’s the part most people don’t know. Stretched bolts happen because when you tighten a shock bolt to the right torque (usually between 50 and 80 ft-lbs, but check your car’s manual), the bolt stretches like a rubber band. Over time, with repeated force from the shock, that stretch becomes permanent. A permanent stretched bolt can’t clamp the mounting parts together correctly, which leads to movement and wear. The way to check this without removing it is to look at the gap between the bolt head and the surface it’s sitting against (that’s called the washer face, by the way). If there’s a gap—even a tiny one—between the bolt head and the mounting bracket or the frame, that means the bolt is stretched. Because if it was brand new and at the right torque, the head would be pressed right up against the surface, no gap. I always tell people to use a feeler gauge if they’ve got one, but if you don’t, a business card or a playing card works. If the card slides between the head and the surface, there’s a gap—time to replace the bolt. I’ve seen brand new bolts come from the factory with tiny gaps, but most used bolts that have been on the car for a year or two will develop a gap if they’re stretched. That’s a big red flag.
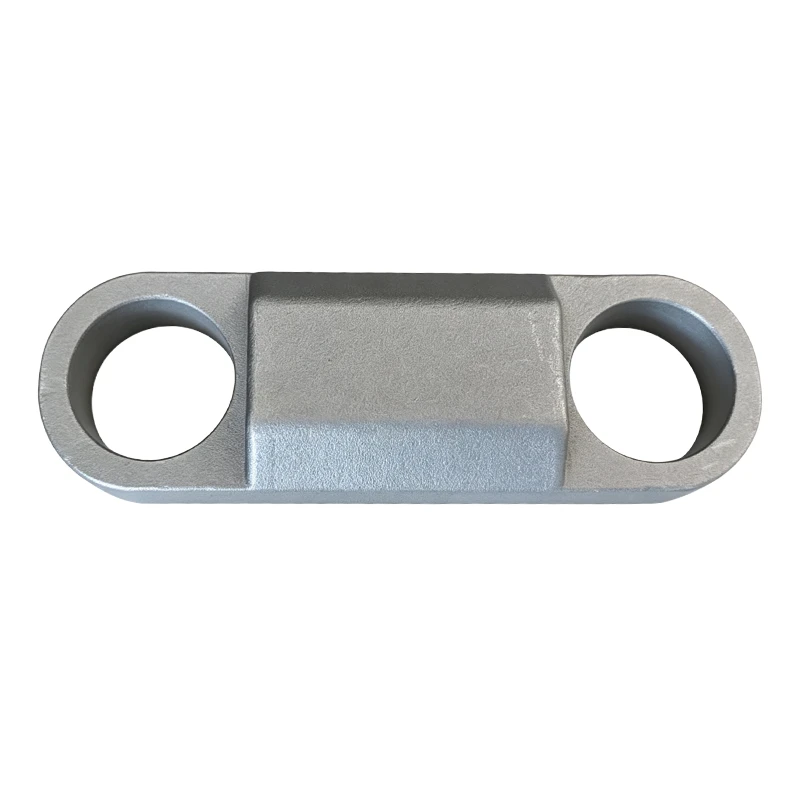

Wait, let’s talk about other parts that can mess up your shock bolt condition, because it’s not just the bolt itself. The shock’s other components play a role here, and checking them can also clue you in on bolt issues. For example, if you look at the [Shock Absorber Outer Tube], does it have any dents? Dents on the outer tube can throw off the alignment of the shock, which puts extra stress on the bolts. Or the [Absorber Bump Stopper]—if that’s worn out, when you hit a big bump, the shock slams all the way together, adding way too much force to the bolts. And don’t forget the [Shock Absorber Stopper], that little rubber piece that keeps the shock from extending too far. If that’s cracked or missing, the bolts are taking impact they weren’t designed for. All these parts connect back to your shock bolts, so checking them as part of your bolt inspection is a good call. I always include a quick check of these parts when I sell a Shock Absorber Bolt Kit, because replacing bolts without checking these other parts is like putting new tires on a car with a broken wheel alignment—you’ll just wear the new stuff out faster.
Now, let’s talk about common mistakes people make here, because I hear these all the time. First, assuming tight = good. I can’t tell you how many times a customer says, “I tightened it as hard as I could with a wrench, so it’s fine.” No—shock bolts have a specific torque spec, usually in the 60-70 ft-lb range for most cars. If you over-tighten, you can snap the bolt. If you under-tighten, it’ll come loose. That’s why my Shock Absorber Bolt Kits come with a torque guide printed right on the packaging, so you don’t have to look it up. Second, ignoring corrosion on the threads. A little surface rust is normal, but if you run your finger over the threads and they feel rough or sticky, that’s rust that’s eating into the metal. Those bolts are already 20% weaker, so even if they feel tight, they can break when you hit a big pothole. Third, skipping the wiggle test because the car drives fine. A lot of times, a loose or corroded bolt will only make itself known when you’re going over a bump at highway speed, which is not a time you want to deal with it.
Wait, what about if you notice something’s wrong? Do you have to replace the whole shock? No, most of the time, it’s just the bolt. And that’s why my company makes Shock Absorber Bolt Kits—we don’t make you buy an entire shock just because one bolt is bad. Our kits include all the bolts, nuts, washers, and even a little packet of anti-seize lubricant to keep the new bolts from corroding. I always recommend replacing all four shock bolts at the same time, even if only one looks bad, because they all take the same amount of wear. It’s not much more expensive than replacing one, and it saves you from coming back in a few months when another one goes. I’ve had customers tell me they tried using a random bolt from the hardware store instead of ours, and it snapped in a month. Hardware store bolts aren’t made for the constant, variable force that shock bolts take. Ours are grade 8 or higher, made to handle the pressure, and they’re tested to resist corrosion from road salt and dirt.
Let’s recap the steps real quick, so you don’t forget: 1. Do a visual check: Look for rust, chewed threads, dents on the [Shock Absorber Outer Tube], worn [Absorber Bump Stopper] or [Shock Absorber Stopper]. 2. Do the wiggle test: Grab both ends of the bolt, push/pull side to side. If there’s movement, inspect for loose nuts or corroded bolts. 3. Check tightness with a socket and breaker bar: Apply gentle counterclockwise pressure. If it moves easily, it’s loose. If it’s stuck, use penetrating oil and try again. 4. Check for stretched bolts: Look for a gap between the bolt head and the mounting bracket or frame, use a playing card if you don’t have a feeler gauge. 5. Link to other parts: If the [Shock Absorber Mounting Bracket] looks worn, check that too—even a good bolt won’t work in a bent bracket.
Now, if you’re still not sure about the condition of your bolts, or you need a replacement kit, don’t overcomplicate it. I’ve worked with DIYers, small repair shops, and even some custom car builders, and I know how frustrating it is to get parts that don’t fit or don’t last. All our Shock Absorber Bolt Kits are made to exact OEM specs, so they fit your car perfectly, and we have a 100% satisfaction guarantee. Whether you need just a single bolt kit for one wheel, or a full set for a whole car, we’ve got you covered. Just reach out to us to talk through what you need—no pressure, no salesy lines, just real advice from someone who’s been in this business for years and cares about getting you the right parts for your car.
Wait, a quick safety note before I wrap this up: Whenever you’re working under a car, always use jack stands, not just a jack. A jack can slip, and that’s a huge safety hazard. Also, if you’re at any point not comfortable doing this yourself—no shame in that! Take it to a local mechanic, and tell them you checked the bolts yourself so they can confirm or replace them. A good mechanic will appreciate that you did your homework, and it’ll save you money on unnecessary labor if the bolts are fine.
I talk to people all the time who put off checking their shock bolts, and then they end up with a big problem—like a bolt snapping at 60 mph, which can cause a crash. It’s such a simple check, takes 10 minutes max, and it can save you thousands in repairs and keep you safe. I’ve seen way too many accidents that could’ve been prevented with a quick bolt inspection. So next time you’re under your car, take those 10 minutes—your car (and your wallet) will thank you.
If you’re in the market for a reliable Shock Absorber Bolt Kit, or if you have questions about checking your bolts, feel free to reach out to our team to discuss your requirements. We’re here to help you get the job done right.
References:
- National Highway Traffic Safety Administration. (2021). Vehicle Suspension System Inspection Guidelines. Retrieved from nhtsa.gov
- Automotive Parts Manufacturers Association. (2022). Best Practices for Suspension Component Maintenance. Retrieved from apma.ca
- SAE International. (2020. Technical Paper: Shock Absorber Bolt Fatigue and Failure Analysis. Retrieved from sae.org