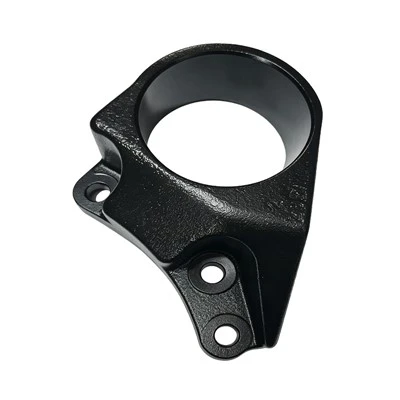

Hey everyone, if you’ve ever worked with suspension systems—whether you’re a mechanic, a do-it-yourself car nut, or even a parts buyer like myself—you know that the shock absorber outer tube is kind of a big deal. It’s the unsung hero that keeps all the internal parts safe from road debris, moisture, and that constant banging and flexing your suspension goes through. Over the years I’ve been in the shock absorber outer tube game, I’ve seen so many people skip simple checks here, and that’s how small cracks turn into big, costly breakdowns. Today, I’m breaking down exactly how to check for those sneaky cracks, no fancy lab equipment required. Let’s dive in.
First off, why even bother checking the outer tube for cracks? Think of it this way: if this tube gets a crack, it’s like having a hole in your rain jacket. The gunk inside (that’s the Shock Absorber Cartridge for you tech folks) can get contaminated with dirt, water, or road grime. Once that happens, the seals go bad fast, and suddenly your ride is bouncing like a pogo stick—worse, it can lead to full suspension failure mid-drive, which is super dangerous. I’ve had customers come to me with outer tubes that had tiny cracks no one noticed, and by the time they brought them in, the whole internal cartridge was rusted solid. Don’t be that person.
Let’s start with the basics: when should you check this tube? I’d say every time you do your routine oil change—so about every 5,000 to 7,500 miles—or if you hit a big pothole, curb, or even a speed bump way too fast. If you notice your car leaning more than usual when turning, or the ride feels way harsher than it used to, that’s a sign you should get under there and check. No need to wait for a flat-out failure; catch it early, save yourself the hassle.
Now, let’s talk tools. You don’t need a million things here. A jack and jack stands (to get the car safely off the ground—never work under a car that’s just on a jack, trust me), a flashlight (LED works best, natural light is good too), a soft cloth (or even old t-shirt), and maybe a small set of feeler gactions if you have ’em, but honestly, most of the time your eyes and hands will do the heavy lifting. Oh, and maybe a small wire brush for that gritty stuff stuck on the tube—no need to make it complicated.
Step one: Prep the vehicle. Park on a flat, level surface, engage the parking brake, and if you’re working on the front, block the rear wheels so it doesn’t roll. Jack up the car, place jack stands under the frame (not the lower control arm—those can bend), and lower the jack so the car is stable. Give the car a little shake to make sure it doesn’t move—safety first, always. Then, carefully remove the wheel if you’re checking a front shock; for rear, you might have to take off the inner fender liner, but that’s just a few bolts, no big deal.
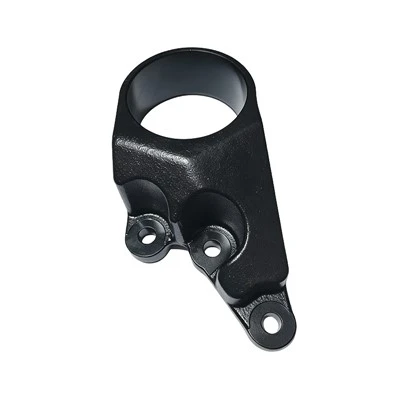
Step two: Visually inspect the entire outer tube. This is where the flashlight comes in. Run it along every inch of the tube from top to bottom, inside and out. Start at the top—where the tube connects to the chassis, usually with a Shock Absorber Bolt Kit and maybe some bushings—and work your way down to the bottom where it attaches to the control arm. Look for lines that are darker than the rest of the tube, hairline cracks, or even small pieces of the tube that are chipped off. Those hairline ones are the worst because they’re easy to miss. I once saw a customer miss a 1-inch crack on the side of his rear tube for three months; by then, the fluid was leaking out like a faucet. Also, check the welds if it’s a welded tube—cracks often start at the welds because that’s where the metal is stressed the most.
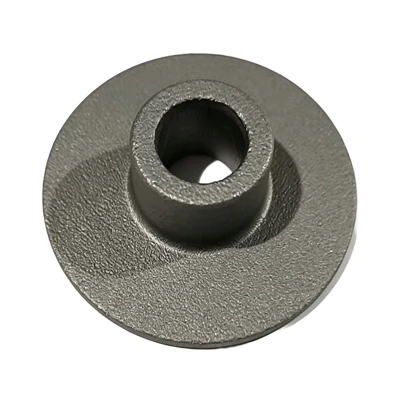
Step three: Do a manual check. Eyes are great, but hands can feel things you’ll never see. Take your soft cloth and wipe down the entire tube to get rid of dirt, grease, and road gunk. Then, run your fingers (wear gloves if you don’t want grease under your nails) along the tube, applying a little pressure. Pay extra attention to spots where you saw faint lines during the visual check, and also the edges where the tube meets the top and bottom mounts, where the Shock Absorber Screw goes in, and around the area where the Absorber Bump Stopper sits (that rubber thing at the top that keeps the shock from bottoming out). If you feel a rough spot, or a little indent that wasn’t there before, that’s probably a crack starting. If you have a can of compressed air (for cleaning electronics, works here too), blow along the tube while your fingers are on it—any air getting into a crack will make it easier to feel, trust me.
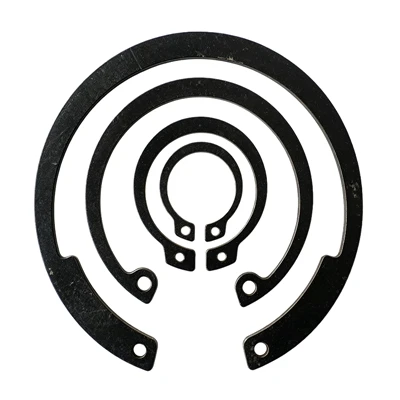
Step four: Check for leaks. Wait, isn’t that part of checking for cracks? Kind of, but leaks often go hand in hand with cracks. If you see any fluid seeping out of the tube, that’s a red flag. The fluid is usually dark brown or black, and it might leave a sticky residue on the tube. Don’t confuse that with grease from the other parts—shock fluid is thinner, and it will spread more. If there’s a leak, there’s a good chance the crack is big enough to let fluid out, even if you didn’t see it at first. Also, check the area around the seals and the snap rings—wait, Shock Absorber Snap Ring is the little ring that holds the cartridge in place inside the tube. If that ring is damaged or loose, it can put extra stress on the tube, leading to cracks over time. So while you’re feeling the tube, make sure that snap ring is seated properly, no gaps or bends.
Wait, what about if you can’t get the wheel off? I get it, sometimes you’re in a pinch and can’t take the wheel off, especially on a busy driveway. No problem—you can do a “quick check” from the outside. Jack the car up a little, so the suspension is at normal ride height, then grab the bottom of the shock tube and wiggle it back and forth gently. If there’s a crack that’s big enough, you might see the tube flex in a weird way, or hear a little clunk. Just don’t wiggle it too hard—you don’t want to make a small problem worse. But remember, the quick check is just that—quick. For a real thorough inspection, you’ve gotta get in there and wipe that tube down.
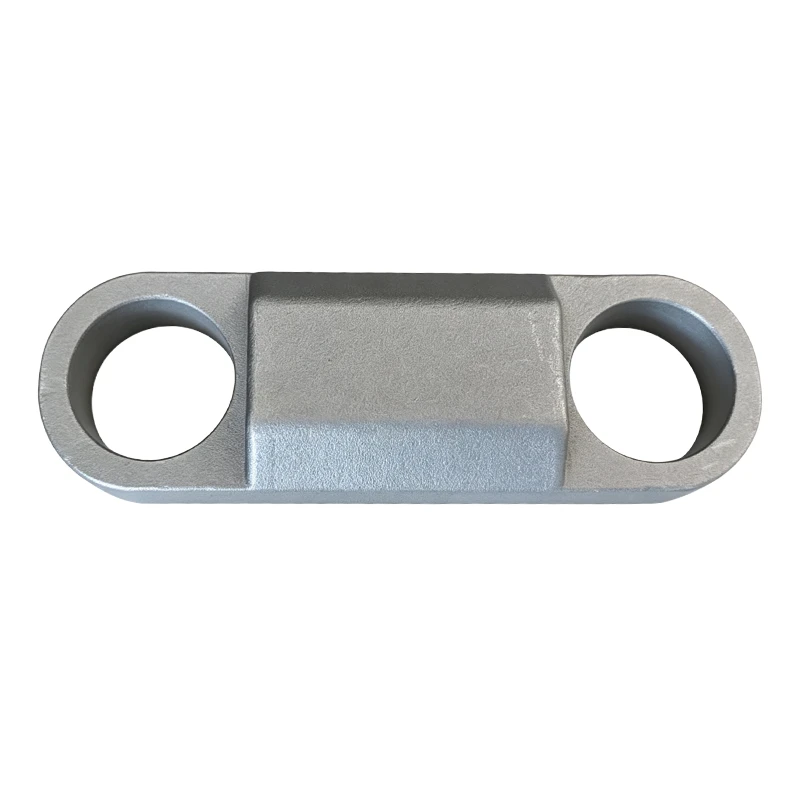
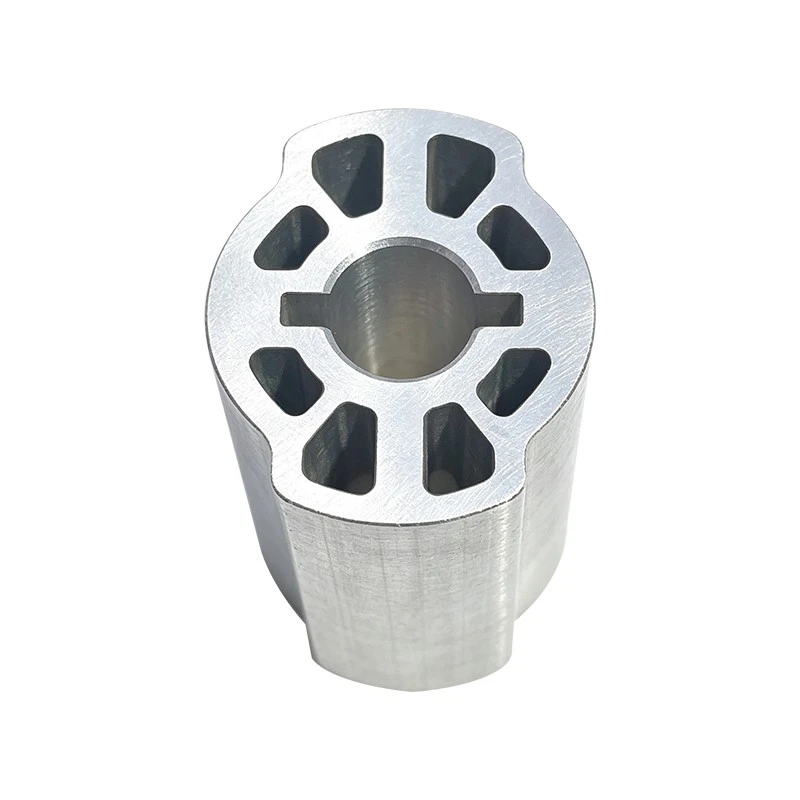
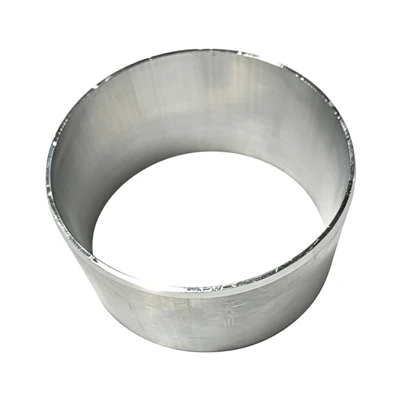
Now, what do you do if you find a crack? First, don’t panic. Small hairline cracks (less than a quarter-inch long, not at the welds) might be okay if it’s a temporary fix, but I don’t recommend driving on it for long. For cracks that are bigger, at the welds, or leaking fluid—replace the outer tube. Trust me, patching a shock tube is never a good idea. Even if you use a strong epoxy, the tube is under constant pressure and flex, and that patch will come loose in no time, leading to a total failure. When you replace it, make sure you get the right size outer tube for your shock cartridge—measure the length and the diameter, so it fits perfectly. And don’t forget to replace those other parts too, like the snap ring, the bump stopper, and the bolt kit, while you’re at it—they wear out too, and it’s easier to do it all at once.
A quick note on common mistakes people make when checking these tubes: rushing through the visual inspection. I’ve seen guys shine their flashlight once and call it good, but those hairline cracks only show up when the light hits them at the right angle. Take your time, go slow, and check every single inch. Another mistake is not cleaning the tube first—all that dirt and grit can hide a crack, and if you wipe over a gritty spot, you might think you felt a crack when it’s just rock stuck on the tube. Oh, and never ignore a crack because it’s on the bottom of the tube—road debris hits the bottom of the shock all the time, that’s where most cracks start.
Here’s something I wish more people knew: even if you don’t drive on rough roads, your shock outer tube can still crack. Temperature changes—like extreme heat or cold—can make the metal expand and contract, leading to small cracks over time. So even if you’re a daily commuter on smooth highways, you should still check every couple months. It’s not just for off-roaders or people with old cars.
At the end of the day, checking for cracks in a shock absorber outer tube is one of those simple, low-stakes tasks that can save you from a ton of headache (and money) down the line. It takes 15 minutes max, and all you need is a flashlight and a pair of gloves. If you’re not comfortable doing it yourself, hit up your local mechanic—they’ll do it in no time, and it’s way cheaper than replacing a full suspension or getting stuck on the side of the road.
If you’re in the market for replacement shock outer tubes, we’ve got you covered. Our parts are built to strict quality standards, so you can rest easy knowing your suspension is safe. Whether you need a cartridge, snap ring, bolt kit, bump stopper, or the outer tube itself, we’ve got everything you need to get the job done right. If you have questions about your specific application, or want to place an order, reach out to our team—we’re here to help. Don’t wait until a small crack turns into a big problem; take 15 minutes today to check that tube, and keep your ride smooth and safe.
References
- Automotive Suspension Systems: Inspection, Maintenance, and Repair. Society of Automotive Engineers, 2021.
- Shock Absorber Component Integrity: Fatigue and Failure Analysis. SAE International Journal of Passenger Cars - Mechanical Systems, vol. 14, no. 2, 2021, pp. 456-472.
- Vehicle Safety Standards: Suspension System Requirements. National Highway Traffic Safety Administration (NHTSA), 2020.
- DIY Suspension Maintenance Guide: Shock Absorber Checks and Repairs. Popular Mechanics, 2022.