
If you've ever noticed a bike or car shock absorber outer tube developing that dull, flaky rust, you know how quickly small corrosion spots can turn into big problems. As a supplier that works with [Company Name] on high-performance shock components for everything from mountain bikes to industrial machinery, I see this issue all the time. The good news? Painting a shock absorber outer tube to prevent rust isn’t just about slapping on some spray paint—it’s a process that needs to account for material, preparation, and coating compatibility to get results that last.
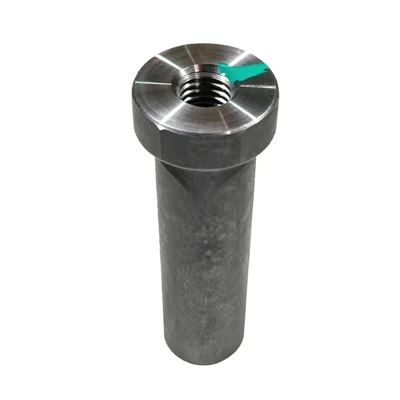
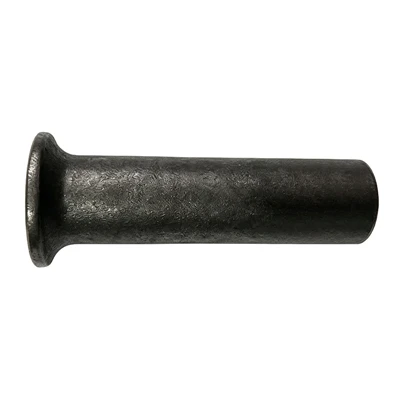
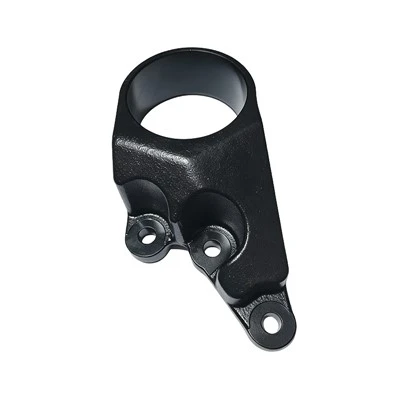
Wait, let’s back up for a second: not all “shock absorber tubes” are the same, and mismatched paint or prep work can do more harm than good. If you’re working with a hard-chrome plated outer tube (the most common type for sturdier applications), rust usually starts in tiny chips where the chrome has worn away from debris or impact. If you’re dealing with a raw steel tube, moisture and road salt will eat through it even faster. That’s why knowing your component’s base material is the first step—and that’s where clarity on parts like the Shock Absorber Outer Tube you’re working with pays off. Sometimes people mix up outer tubes with inner tubes, so I always remind teams that the outer tube is the part exposed to the elements, whereas the inner (shock absorber cartridge) component lives inside, sealed off from most grime. Let’s focus on the outer one here, since that’s where rust happens.
First, let’s talk about why basic spray paint fails here. Regular craft or even general-purpose spray paint doesn’t flex with the tube when the shock compresses or expands. Over time, that constant movement causes the paint to crack, peel, and leave bare metal exposed—exactly the opening rust needs. You need a coating that’s tough, flexible, and formulated for metal components that see dynamic use.
Now, the prep work: this is the most critical step, and skipping it is why 90% of amateur paint jobs on shock tubes fail. I learned this the hard way early on when a client sent back 50 outer tubes I’d prepped with just a quick wipe-down. The paint peeled off within a month, and the reason? I didn’t get rid of the protective oils, mill scale, or old rust flakes stuck in every crevice. Here’s the step-by-step prep I now swear by:
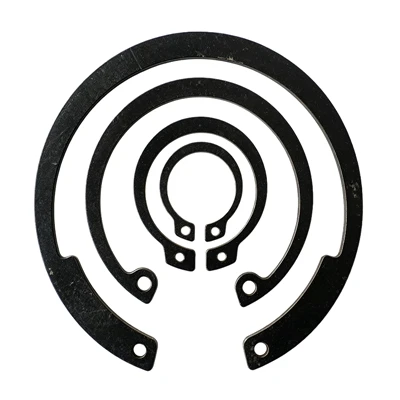
- Disassemble carefully (if possible): If you’re working on a full shock, take it apart to separate the Shock Absorber Snap Ring and any attached parts from the outer tube. That way, you don’t accidentally get paint on components meant to move or seal inside the tube. Trying to paint a fully assembled shock means overspray will end up in sensitive areas, which can throw off performance later.
- Strip old coatings and rust: For tubes with existing paint or light rust, use a degreaser (like a citrus-based cleaner that’s gentle on metal) and a stiff nylon brush to scrub every surface—even the parts you can’t see. For heavier rust, a wire brush or sandblaster (fine-grit, not aggressive) works well, but be careful not to damage the chrome plating if that’s your base material. If you’re working with a raw steel tube, you can also use a phosphoric acid-based rust converter to turn remaining rust into a stable base for paint—just make sure to neutralize it with water afterward.
- Etch the surface: This is the step most people skip, but it’s what makes paint stick. Use a metal etchant (a solution that chemically roughs up the surface of the tube) over the entire outer surface. You can spray it on, let it sit for 5-10 minutes, then rinse it off and let the tube dry completely—this is non-negotiable. A dry tube means no moisture under the paint that will cause blistering later.
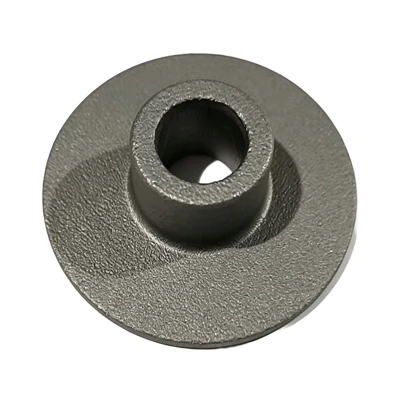
- Mask off non-painted areas: Before you paint, use high-temp masking tape and plastic to cover any sections that shouldn’t have paint—like the edge where the Shock Absorber Stopper sits, or any mounting holes. This is especially important if you’re using air spray, which can drift.
Once prep is done, it’s time to choose the right paint. This is where I see the biggest mistakes. For shock tubes that see heavy use (like on mountain bikes or work trucks), I recommend two-part epoxy-based paint formulated for metal. Unlike single-part spray paint, epoxy flexes with the tube’s movement, creates a tight barrier against moisture, and resists chipping from rocks or debris. For smaller touch-ups, a high-performance urethane enamel works, but only if it’s rated for dynamic metal components. Avoid latex or acrylic paints—they won’t hold up to the vibration and temperature changes shocks go through.
Now, the painting process itself: don’t just shake a can and go to town. Apply thin, even coats, not one thick coat. Thick coats dry unevenly, crack easily, and trap air or moisture underneath. Start with a primer made for metal—this is an extra layer of protection that seals the tube and gives the topcoat something to grip to. Let the primer cure for the time the manufacturer recommends (usually 24 hours, not the 10 minutes they say for “dry to touch”). Then apply two or three thin coats of your epoxy or urethane paint, waiting 15-20 minutes between each coat so they can dry evenly. Keep the environment clean—no dust, wind, or high humidity while you paint, because even a speck of dust will ruin the finish.
Wait, what about if you’re not painting a full tube, just a spot rust on an old shock? The same rules apply: sand the spot down to bare metal, apply an etchant, primer, then paint. Don’t just paint over the rust—even if it looks like it’s covered, it will continue to grow under the paint and eventually push it off.
I want to touch on something specific here because I hear this question all the time: is painting a shock absorber outer tube something you should do as a DIYer, or is it better to leave it to professionals? If you’re working on a casual bike shock for personal use, the DIY method works if you follow the steps exactly. But if you’re dealing with high-performance shocks for racing or industrial equipment, or if you have a large batch of Shock Absorber Tube parts to process, it’s worth going to a powder coating shop. Powder coating is an industrial process where electrostatically charged powder is applied to the tube and then baked in an oven, creating a harder, more durable finish than spray paint. It’s more expensive, but for parts that will see heavy abuse, it’s worth the cost. That said, even powder coated tubes need the same prep work (stripping, etching, masking) to last.
From my experience as a supplier, the number one reason customers come back to us for replacement outer tubes isn’t just wear—it’s rust from a failed paint job they did themselves. I once had a client who saved money by buying cheap spray paint for a batch of 100 outer tubes, and within three months, 70% of them had rust spots. He ended up paying more to replace them than he would have if he’d used the right paint from the start. The takeaway? Cheap materials lead to cheap results when it comes to protecting shock components.
Another thing to consider: environmental factors. If you live in a place with a lot of salt (like near the ocean, or in areas that use road salt in winter), your paint job needs extra protection. A zinc-rich primer under the paint is a good addition here—zinc acts as a sacrificial layer, corroding before the steel or chrome of the tube does. For industrial shocks that are constantly exposed to chemicals or moisture, you might even want a clear coat on top of the paint, adding another layer of defense.
Let’s also address a common misconception: the inner components. Even if you paint the outer tube perfectly, if there’s rust getting into the Shock Absorber Cartridge, that will cause the shock to fail too. But that’s a separate issue—this blog is about the outer tube, so we’ll stick to that. Just remember that when you’re handling the outer tube, keep the inside clean and dry, and don’t let any paint or debris get in there.
So, to recap the key steps to paint a shock absorber outer tube to prevent rust:
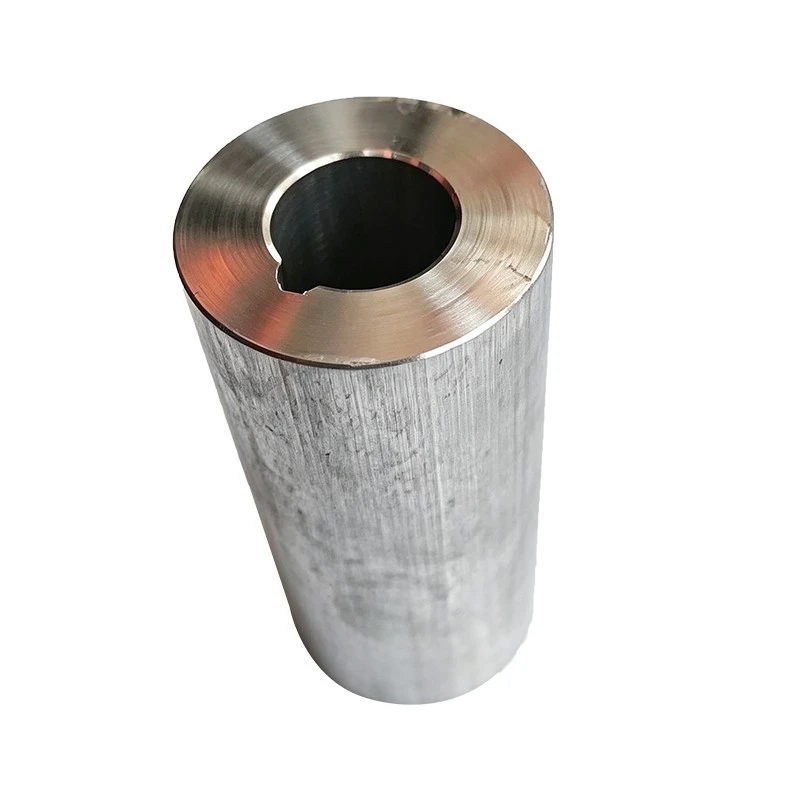

- Identify your tube type (chrome plated or raw steel) to choose the right prep and paint.
- Disassemble as needed to protect small parts like snap rings and stoppers.
- Do thorough prep: degrease, strip old coatings/rust, etch the surface.
- Use flexible, metal-specific paint (epoxy or urethane) with a metal primer.
- Apply thin, even coats and let them cure fully.
- For heavy use, consider professional powder coating.
If you’re in the market for quality replacement parts that are built to resist rust from the start, we supply durable Shock Absorber Outer Tubes that are finished with corrosion-resistant coatings from the factory. We also have the other parts you need for repairs, like Shock Absorber Snap Rings, Shock Absorber Stoppers, and more, all available to support your maintenance or production needs.
If you’re looking to source high-quality shock components or have questions about protecting your tubes from rust, get in touch with our team to discuss your specific requirements and find the right solutions for your applications.
References:
- Corrosion Prevention for Metal Components in Dynamic Environments, International Society of Automotive Engineers, 2021.
- Metal Surface Preparation and Coating Guidelines for Industrial Machinery, National Association of Corrosion Engineers, 2019.
- Performance Characteristics of Epoxy and Urethane Coatings for Shock Absorber Tubes, Journal of Automotive Manufacturing Technology, Vol. 14, No. 2, 2022.
- Powder Coating Best Practices for Metal Tubing, Surface Finishing Magazine, July 2020.