
If you’ve ever changed your own shocks or watched a mechanic swap them out, you’ve probably fixated on the innards: the spring, the piston, the hydraulic fluid that keeps your ride from bottoming out on potholes. But as a shock absorber outer tube supplier with over a decade of watching how these parts fail in the real world, I’m here to tell you the outer tube is the unsung hero of the entire assembly. It’s the rigid, steel or aluminum shell that holds all the sensitive internal components in place, protects them from road debris, salt, and moisture, and bears the brunt of the force from every bump, curb, and uneven stretch of highway.
Yet most vehicle owners, and even some technicians, overlook this part until it’s too late: a dented, corroded, or prematurely worn outer tube doesn’t just hurt performance—it can lead to total shock failure, dangerous handling issues, and even costly secondary damage to other suspension parts. Over the years, I’ve worked with hundreds of fleets, repair shops, and do-it-yourselfers to troubleshoot outer tube wear, and I’ve seen firsthand that with the right knowledge and small, consistent habits, you can extend the lifespan of an outer tube by years. This isn’t about magic tricks—it’s about understanding what causes outer tubes to fail, and acting to prevent those issues before they take hold.
Let’s start with the most common enemy of outer tubes: corrosion. When outer tubes are made from steel (the most common material for heavy-duty and passenger vehicle applications), they’re designed with a protective coating, usually a powder coat or galvanized layer, to fend off rust. But that coating doesn’t last forever. Road salt in winter, splash from puddles containing chemicals, even moisture trapped in dirt or grime that builds up on the undercarriage can eat through that coating over time, leaving the bare metal exposed. Once rust sets in, it spreads quickly, especially in the thin areas around weld seams or where the tube attaches to other suspension components. As rust eats away at the metal, it weakens the tube’s structural integrity, making it more prone to dents from minor impacts and eventually leading to leaks or complete collapse.
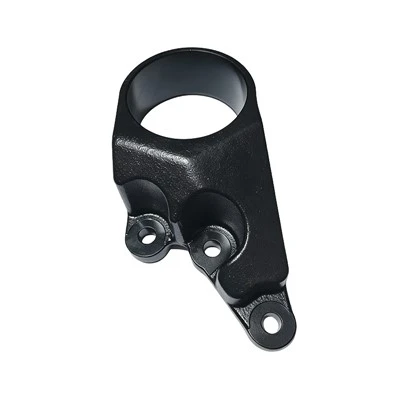
The fix here is simple, but it needs to be consistent. Every time you get your oil changed (or every 5,000 to 7,500 miles, depending on your vehicle), take 10 minutes to do a quick undercarriage check. Grab a flashlight, a soft brush, and a bucket of soapy water, and gently clean the area around the outer tubes to remove built-up salt, mud, and grime. If you spot a chip or scratch in the protective coating, don’t ignore it—a tiny blemish is an open invitation for corrosion. Touch up small damage with a high-quality, heat-resistant paint rated for undercarriage use. For areas where the tube connects to mounting points, like where it meets the Shock Absorber Mounting Bracket, pay extra attention—these high-friction areas are where coatings often wear fastest.
Next up, dents and mechanical damage. Most outer tube damage doesn’t come from a massive crash—it comes from small, repeated impacts that you barely notice. Hitting a curb at an angle, driving over a deep pothole, or even dragging through a steep driveway can put a small dent in the outer tube. At first, a tiny dent might not seem like a big deal, but it is. Dents can warp the tube’s shape, throwing off the alignment of the internal piston and cartridge (and yes, that means the Shock Absorber Cartridge inside can start rubbing against the walls of the tube, causing premature wear on both parts). Over time, those small dents can turn into cracks, especially when combined with the stress from heavy loads or frequent towing.
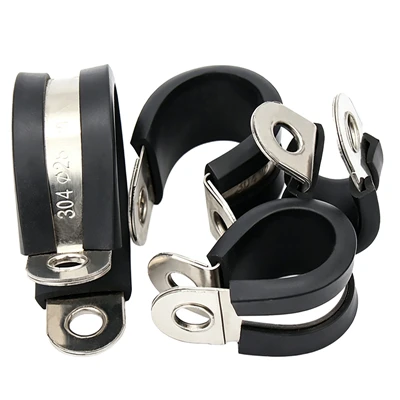
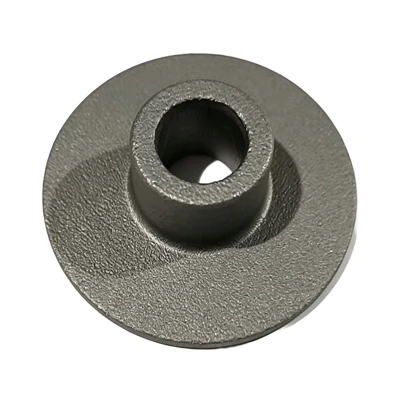
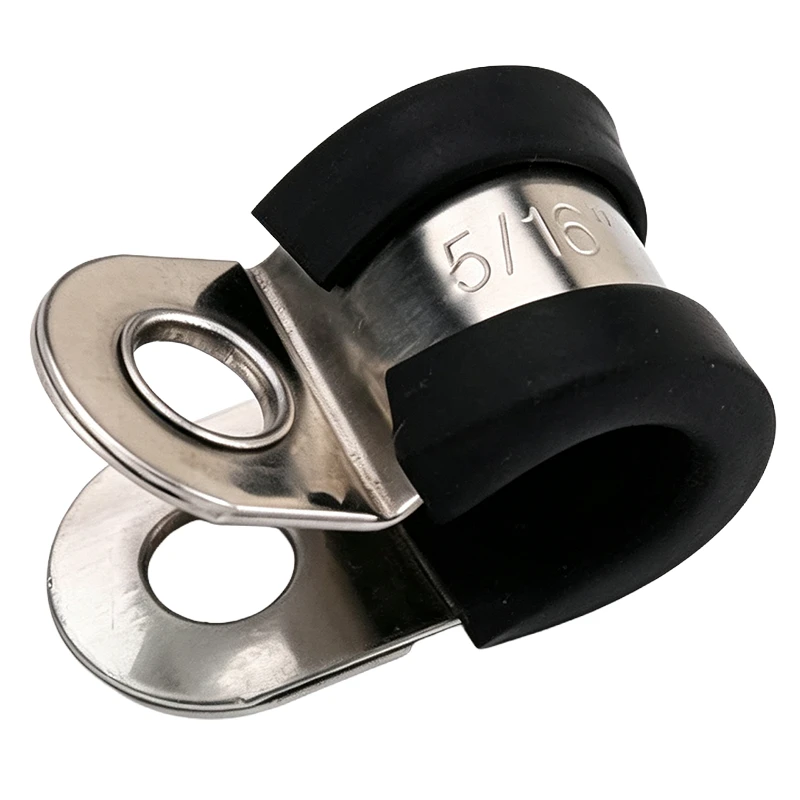
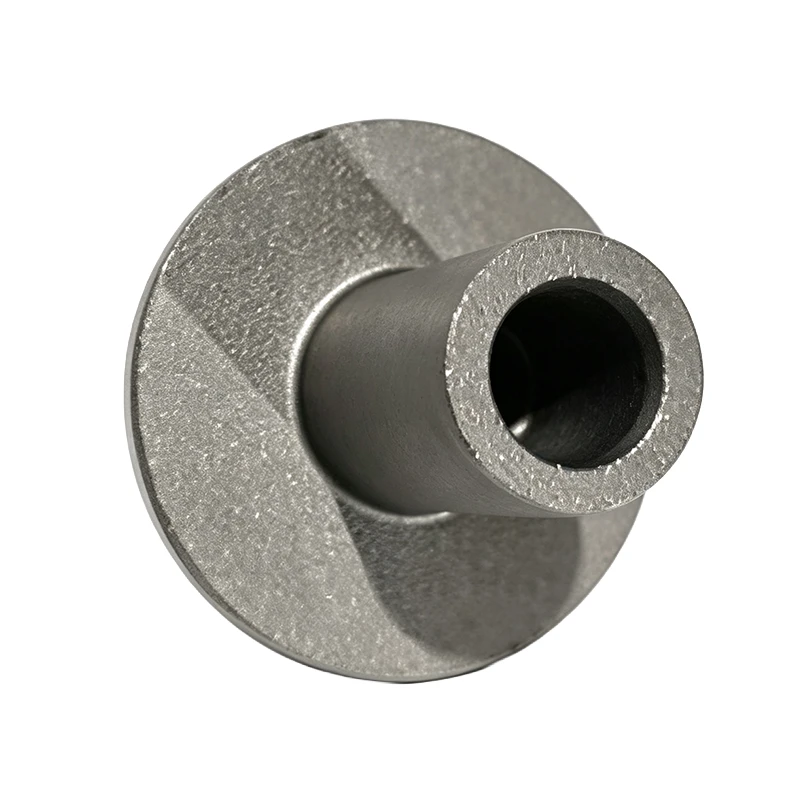
Preventing dents starts with being mindful of how you drive, but there are also simple parts you can use to add extra protection. One of the most effective is a Shock Absorber Clamp, which is designed to wrap around the lower portion of the outer tube and act as a buffer against impacts from road debris or minor collisions. These clamps are made from durable, flexible rubber or hardened steel, and they don’t add significant weight to the suspension—perfect for both passenger cars and light-duty trucks. Another often-overlooked part that helps with mechanical damage is the Shock Absorber Stopper, which limits how far the suspension can travel, preventing the outer tube from bottoming out and hitting the axle or frame during hard hits. Installing these small parts when you replace shocks can add a layer of defense that goes a long way in preserving the outer tube.
Proper installation is another huge factor in how long an outer tube lasts. I’ve seen countless perfectly good outer tubes fail within a year because they were installed incorrectly. The most common mistake here is over-tightening the bolts that hold the shock in place. Many DIYers and even some technicians crank those Shock Absorber Bolt Kits to the maximum torque listed on the box, but that can put unnecessary stress on the outer tube. Over-tightening can cause the tube to bend or crack, especially at the mounting points, where the metal is already thinner. It can also stretch the bolt holes, leading to loose connections that cause vibration and wear over time.
The key here is to follow the manufacturer’s torque specifications exactly. Different vehicles, different shock types, and different mounting brackets have different torque requirements—there’s no “one size fits all” number. If you’re working on a passenger car, you’ll typically want to use a torque wrench to tighten the upper and lower mounting bolts to between 40 and 60 foot-pounds, while heavy-duty trucks might require 80 to 100 foot-pounds. Never skip using a torque wrench—guessing tightness is a fast way to damage outer tubes and other suspension parts. Also, make sure the mounting bracket and the outer tube are aligned properly before tightening; if they’re not straight, you’ll put uneven pressure on the tube that can lead to warping or cracking.
Load management is often underestimated when it comes to outer tube lifespan. Your suspension is designed to handle a specific maximum load, and going over that limit on a regular basis puts constant stress on the outer tube. If you’re towing a trailer, carrying extra heavy cargo in the bed of a pickup, or loading down an SUV for a road trip, that extra weight forces the outer tube to expand and contract more than it was engineered for. Over months or years, this repeated stress can cause metal fatigue, leading to small cracks that eventually turn into full breaks.
To avoid this, be aware of your vehicle’s load capacity. If you regularly carry heavy loads, consider upgrading to heavy-duty outer tubes designed for higher weight ratings—many manufacturers offer these as aftermarket options. You can also add auxiliary parts, like helper springs, that take some of the load off the shock absorbers and their outer tubes, reducing the amount of stress they have to handle. Even simple habits, like distributing cargo evenly in the bed or trunk instead of piling all the weight on one side, can reduce uneven stress on the outer tube and help it last longer.
Finally, regular inspections are non-negotiable. I always tell customers to check their outer tubes every time they rotate their tires or get an alignment—this is when you’re already under the car, so it’s easy to take two minutes to look closely. What are you looking for? Corrosion spots, dents, cracks, or any signs of leaking fluid (leaks can happen when a hole forms in the outer tube or a seal fails, but either way, it’s a sign that the part is failing). If you spot any of these issues, don’t wait to replace the shock. A small problem today will only get worse, and replacing the outer tube early is far cheaper than fixing the damage it can cause to your tires, brakes, or frame down the line.
As someone who works with these parts every day, I know that most people don’t think about the outer tube until it’s too late. But taking these small, actionable steps—regular cleaning, using protective clamps and stoppers, proper installation, load management, and routine inspections—can drastically extend the life of your shock absorber outer tube. It’s not about making a big investment; it’s about being mindful of the parts that keep your ride smooth and safe.
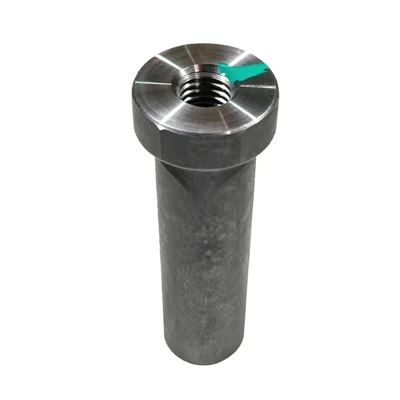
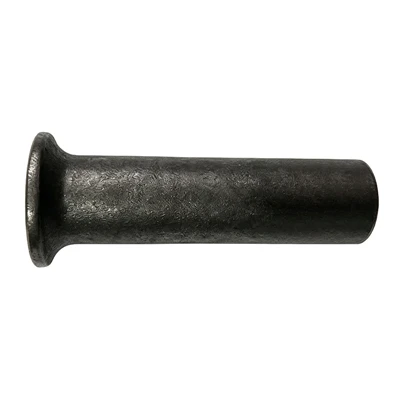
If you’re in the market for quality outer tubes or replacement suspension parts, or if you have questions about extending the life of your current parts, we’re here to help. We offer a full range of shock absorber components, including the Shock Absorber Clamp, Shock Absorber Cartridge, Shock Absorber Mounting Bracket, Shock Absorber Bolt Kit, and Shock Absorber Stopper to support all your needs. Reach out to our team to discuss your requirements, and we’ll work with you to find the right parts for your vehicle and budget.
References
- SAE International. (2021). "Corrosion Protection for Automotive Suspension Components." Journal of Passenger Cars: Mechanical Systems.
- Automotive Aftermarket Suppliers Association. (2022). "Best Practices for Shock Absorber Installation and Maintenance." AASA Technical Bulletin.
- International Organization for Standardization. (2019). "Road Vehicles—Suspension Components—Strength Requirements and Test Methods." ISO 10226:2019.
- Society of Automotive Engineers. (2020). "Effects of Suspension Loading on Outer Tube Fatigue Life." SAE Technical Paper 2020-01-0897.
- Aluminum Association. (2021). "Corrosion Resistance of Aluminum Automotive Suspension Parts." Aluminum Industry Technical Report.